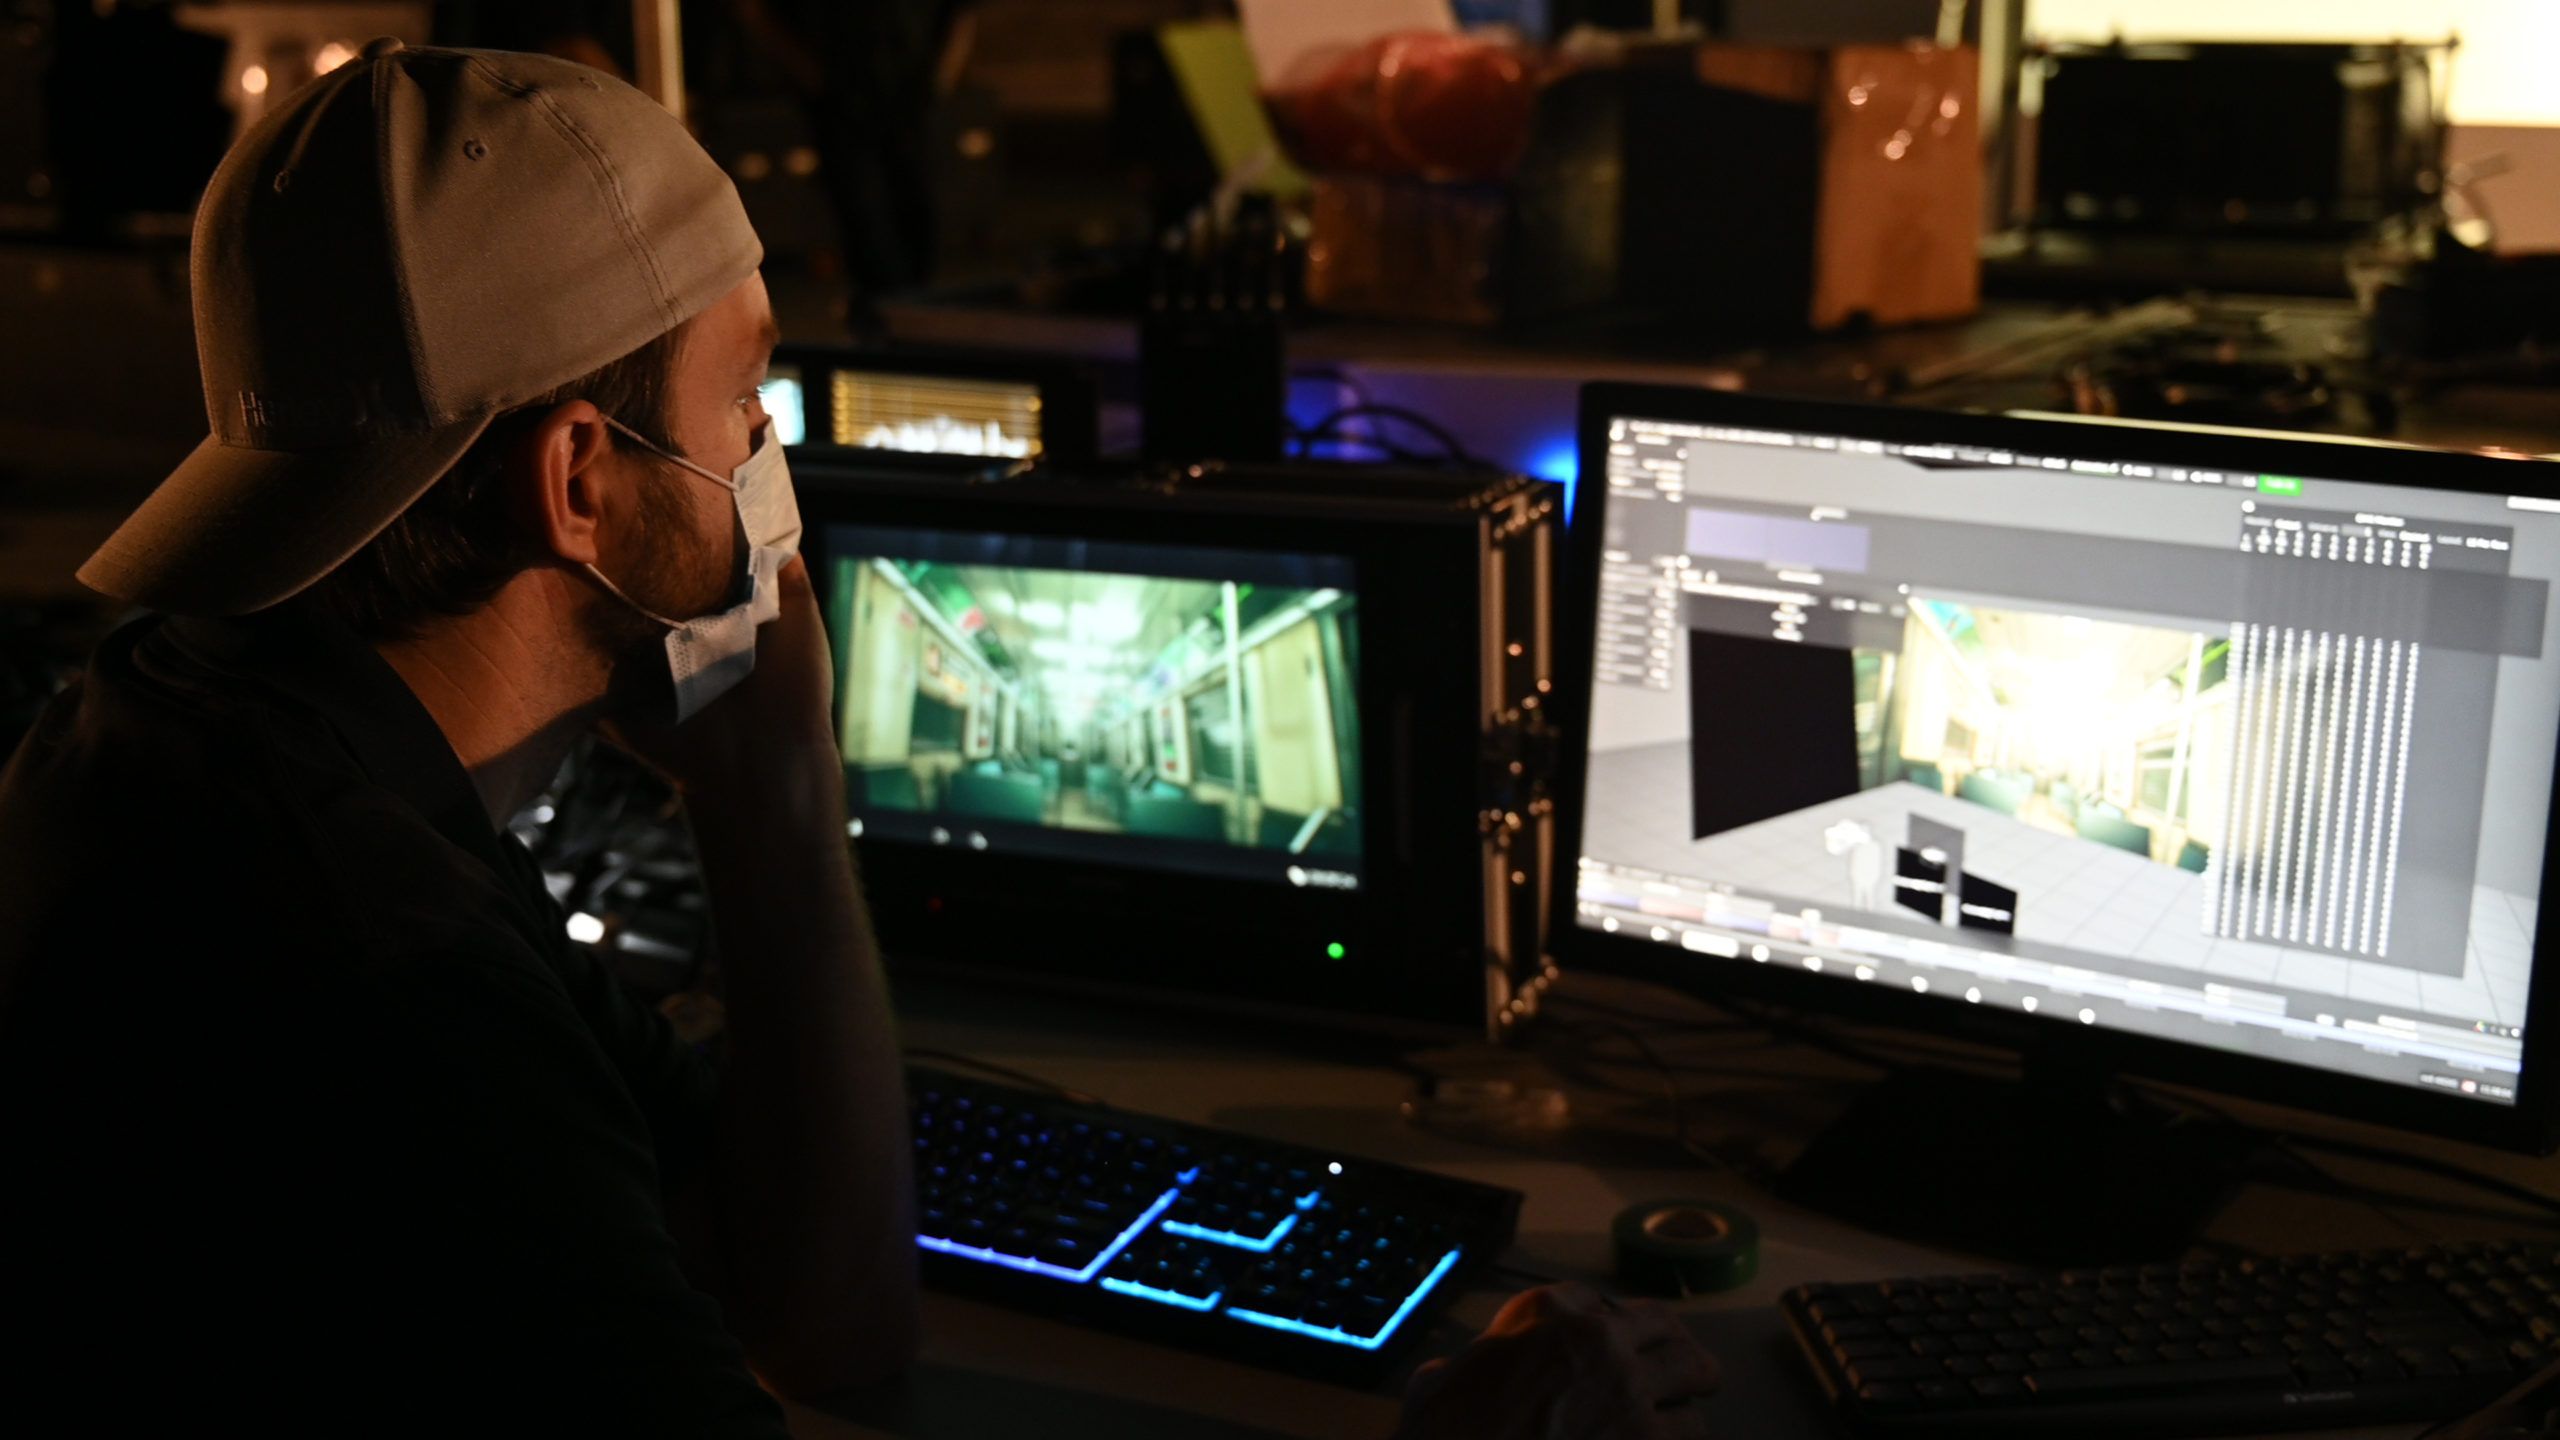
Evolve Solutionist George Ray walks us through the steps for updating the Novastar KU20 firmware from version 1.0.1 to version 1.1.0 through the VMP software. He also shows off some of the new features added to this update.
VIDEO TRANSCRIPT
Hi, this is George Re with Evol, and today I’m gonna walk through how to update the Nova Star KU 20 to their newest 1.1 0.0 software, and also show you one of the changes, which is the KU 20 now has a scaler mode. How to access that inside V M P. So here I am running the V M P control software. I am running the normal VMP 1.2 that’s available on Nova Star’s website.
I’ve been updating several processors, so that’s why you see all these listed over on the side. I have two live units currently connected to my computer. This one and this one. 6, 8 50 and 60. I have two of them in a rec. I’m gonna create a group. Doesn’t matter what I name it. I’m going to move the two live processors into the group because that then allows me to update both of them all at once.
I don’t have to do anything else. So tools,
we’re in maintenance. I select all of them just by selecting on the top of the row. They are version one, 0.0, 0.1, and we’re going to go to 1.1 0.0. So I go upgrade. Here is the file that I downloaded from Nova Star’s website this morning. The update was released literally today, March 15th, the day I’m doing this recording.
So select that update for the KU 20 version, 1.1 0.0. Open and upgrade is in progress. We get the nice little progress, but this update does not take very long, and right now the controllers are rebooting. I’m looking at them across the room from me. The update is being performed across an IP based connection.
So I just went in from my laptop, hardwired into one of the controllers, and then used the second network port on the controller to go into one of the ports on the other controller. So as long as they have separate IP addresses, I could do all of our inventory at once. If I connected them all together, one is finished rebooting and the second one is done rebooting.
This update will finish out here in just a couple of seconds.
And there we go. So everybody is updated. We’re now at version 1.1. So in the maintenance menu, this is how you can tell whether you’re version 1.1 or not. So a couple of things that have changed. Right Click on the group. So Control Finder lights up the front panel with a giant color to indicate which control group it’s on.
I select a controller
and then. Go down. There are a couple of new menus, so from here I can go to working mode, and now we have two options. So the default when I turn it on and reset it is send only controller, say non scaling sender. Over here on the side panel, so I don’t have an external source hooked up, but you can see.
Let me zoom into both of these. So these are both currently in send only mode. So send only control. It shows up in the properties menu. So I’m gonna show you some differences. I’m gonna pick one of them. One on the left here. Go into the menu working mode, change it to an all-in-one controller, which says the layer and scaling functions will be available.
So now with the two processors side by side, this one now shows all-in-one controller. If I click on even the internal test pattern, I now have a layer. There’s only a single layer, the source for that layer and the position in size. So I can resize the test pattern. I can either enter the data here. I have a project coming up where it’s a six by six wall and it’s 1152 by 1152, and now my scaler is set to the size of that wall.
Regardless of what the content is, the processor that’s in send only mode notice doesn’t say all in one controller. And when I click on the source window, I get the just the parameters test pattern. I can’t change anything. I can set the EID down here or the refresh rate, but that’s it. On the source, the, the.
Unit that is in all in one mode. I get the layer in position properties can right click change sources. So from here I right click on a controller and change working mode. So picking the other processor. Change the working mode, go to all in one controller. Okay? Now, if I share the group, I have both units selected.
They both show all in one controller, another function that has changed. So we’re under tools control. I turn this on and we get a little control box. Up here it says it’s live. We have a universe number, so they have implemented artnet control of the Nova Star processors of the the Cox Series of processors.
So in this new KU firmware, I have artnet control. We have our channel. Our channel values and we have global, we have source select, so source color adjustments, brightness and color, temperature adjust. And you can also recall presets. So we have a number of of different methods for controlling. So again, you select.
Which one. So if you just want preset control, you put it in preset mode and it’s a single channel and it just allows you to recall the presets. I have not tested this yet to see how it behaves with different consoles, but it was, it said recent implementation. So here under global, we have 13 channels that will change all these different values.
If I go source, select, then we have 10 channels that will change it. Image quality, so brightness and color temperature. And this right now is across the group. If they’re in a group, everything in the group is gonna respond together. So to make them non, make them on independent universes, you have to ungroup some.
In fact. This one is in universe two. This one is in Universe five, and one is in global mode, and this one is just in image quality. That’s a quick how to update the KU 20 processor to the new firmware and where the working mode adjustment is. So right click when you’re in source selection mode or any of these.
Menus working mode is a right click on the individual processor. If you group them, you still have to right click on the individual processors rename as the name blackout freeze mapping turns on your cabinet mapping. Control finders your front window, your front L C D screen. Export and import setting.
Receive a card, fake working mode we talked about. And the controller properties just brings up the properties menu so you can check the firmware versions, IP addresses controller, uh, working mode is also available on the front panel. Under system settings and there’s a new working mode sub-menu, your two options are send only and all in one.
All in one has scaler. Send Only is unscaled. That’s all we have for you today. Thank you for watching. This is George Ray with Evolv in Orlando.


